One of the best features of Photoshop is the Layer Styles. We can create all sorts of effects – plastic, glass, water, ice, metal, and many more. In this tutorial, I will show you how to create a gold text effect. I will use only Layer Styles, and once our new style is created, we will be able to save the style and apply it wherever we want.
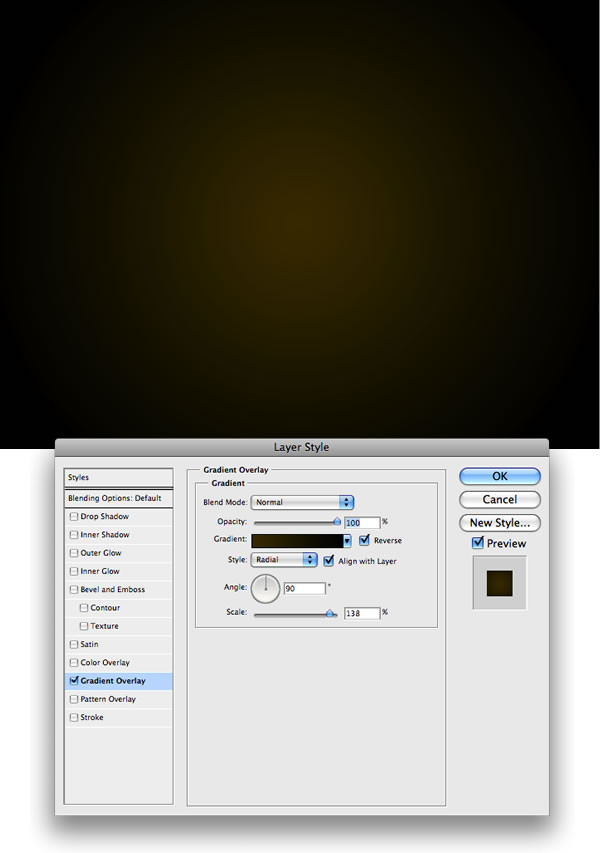
Step 1
Create a new document, apply a Layer Style on the background layer. Add a Gradient Overlay from black to a dark brown (#443501).
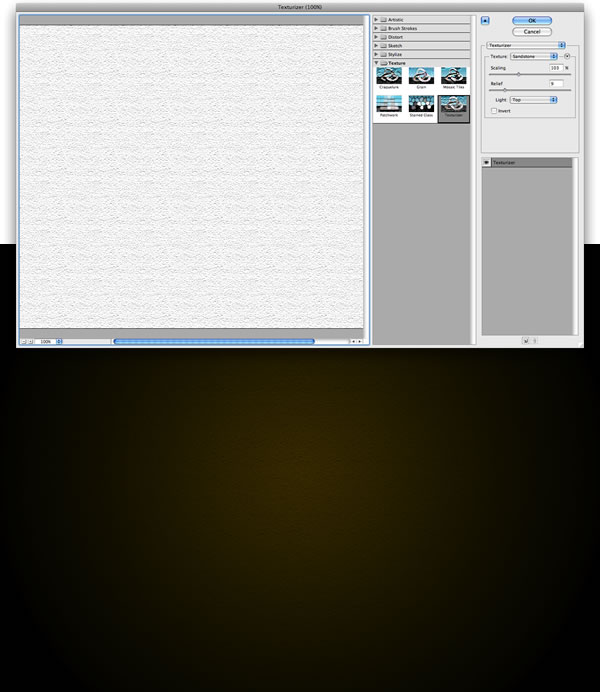
Step 2
Create a new Layer and apply Filter>Texture>Texturizer. Make sure that the foreground color is white and the background is black. After that, change the Blend Mode to Multiply.
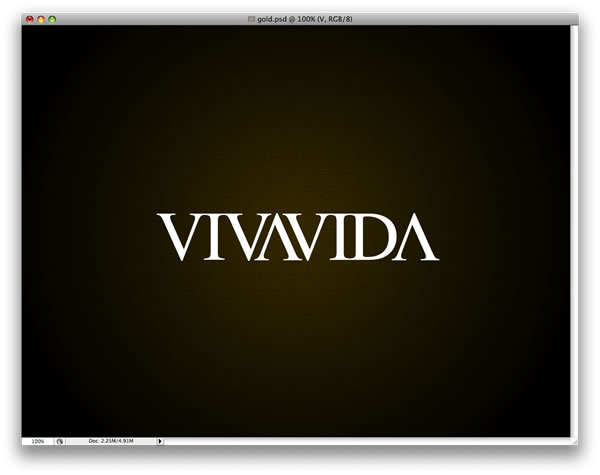
Step 3
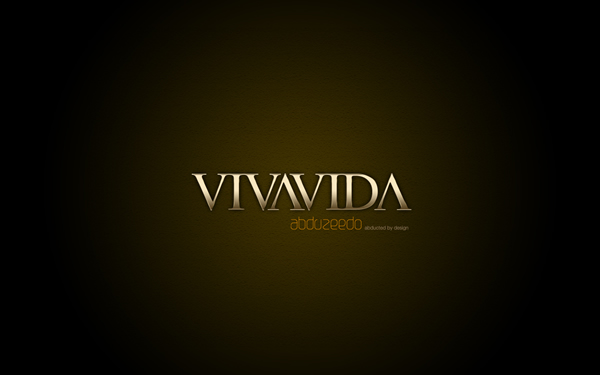
Add some text. I used Times New Roman, and for the "A" I used the "V" letter and flipped it vertically and horizontally.
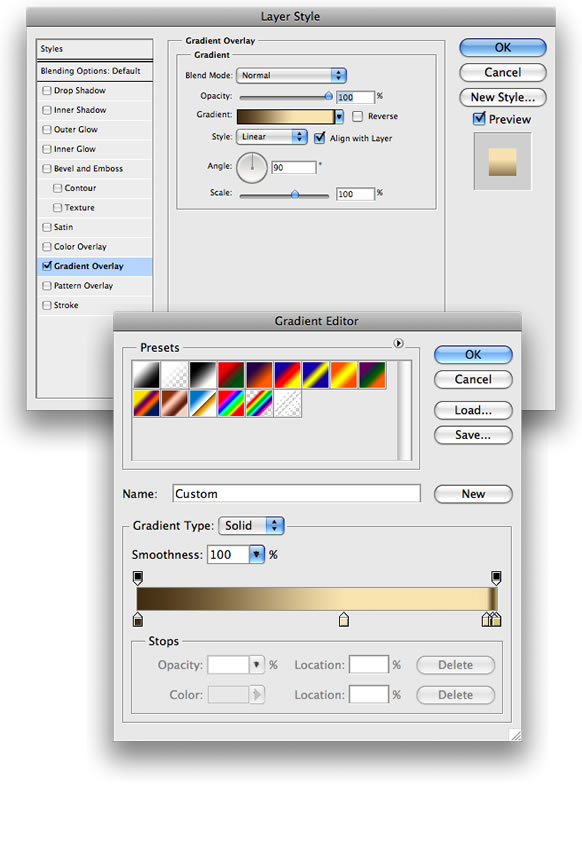
Step 4
Now we start creating our gold layer style. We'll set up the Gradient Overlay first, as shown below.
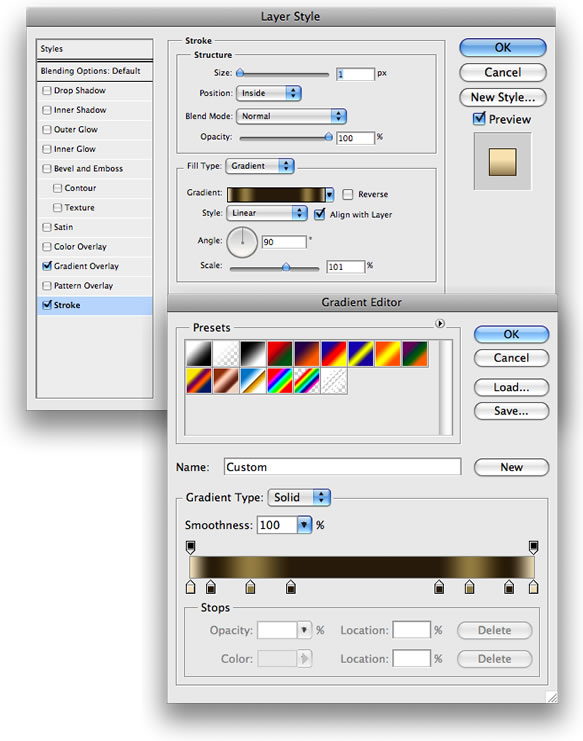
Step 5
Now we'll add a Stroke. For the Fill Type use Gradient. The position of the gradient will vary for different typefaces, so experiment and see what looks good.
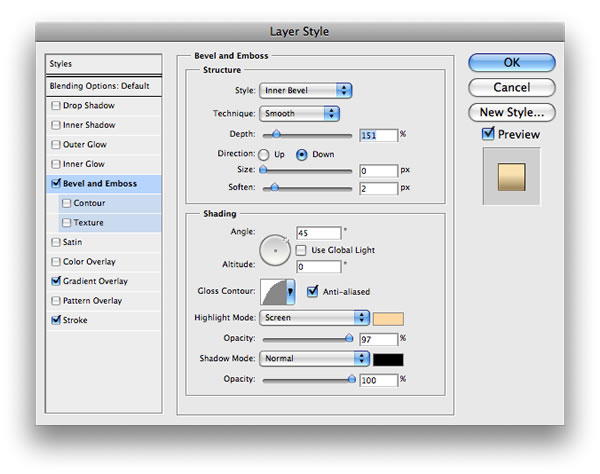
Step 6
Add Bevel and Emboss, as shown below.
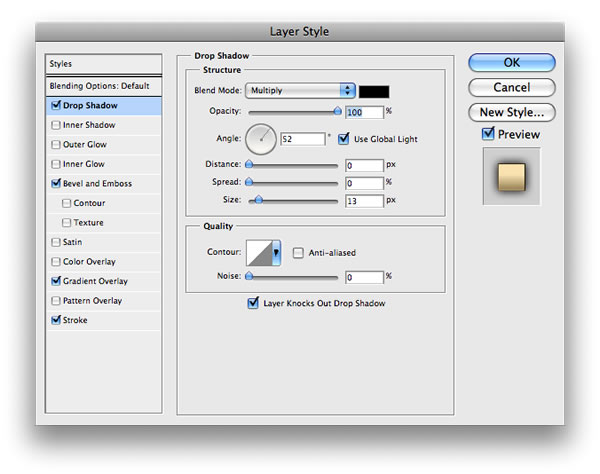
Step 7
Finally, add some Shadow, again following the specs below.
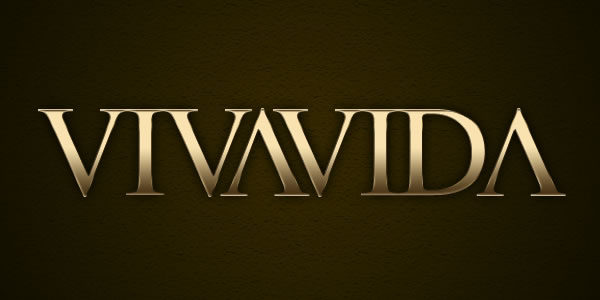
Conclusion
This a very nice example of how powerful Layer Styles are in Photoshop. Sometimes just changing some values can create a totally different effect. For this tutorial I created gold, but if you change the gradient color to variations of grey you will have silver instead of gold.
Source: psdtuts.com
No comments:
Post a Comment